Our house is proof that people stored a lot less stuff a hundred years ago.
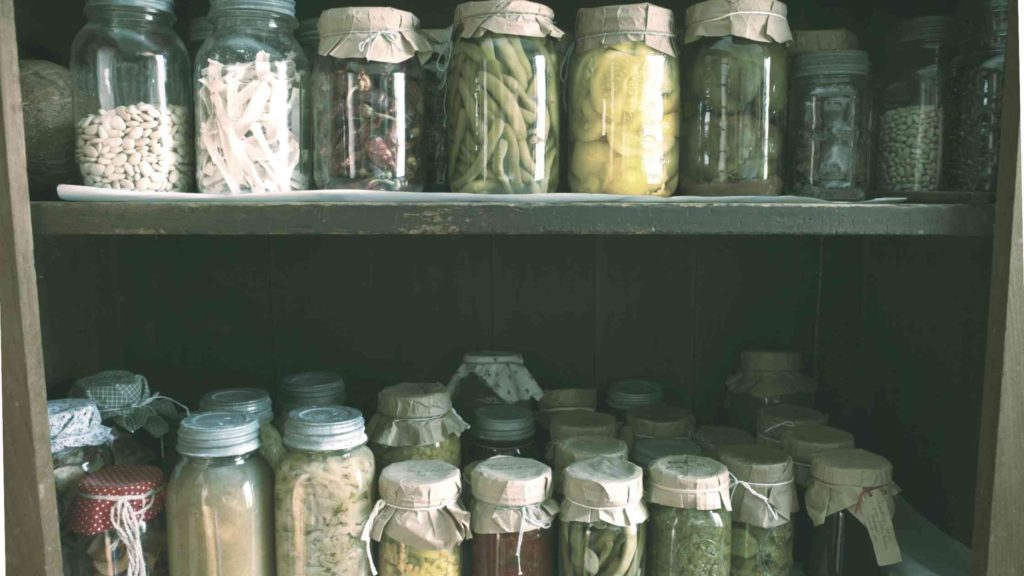
Our “quote-unquote pantry” is a prime example. It’s really just a recessed space inside our back door that we’ve always used for food storage. Probably because when we got here the previous family that lived here was using it that way. They had a fairly small antique pie safe (you know the cabinets with the punched metal on the front?) serving as their pantry.
I’m thinking they ate out a lot.
We certainly eat our fair share of take-out, even though lately I’m cranking out the majority of weeknight meals, which feels pretty accomplished for this gal. (Don’t judge me…) We also snack a lot (still don’t judge me…), so we’ve needed a little more extensive storage than the lovely pie safe would have afforded us.
In the beginning

Our first solution (copying their idea of bringing in a piece of furniture) was to buy an inexpensive wardrobe (which was actually probably meant to be a TV cabinet/entertainment center). It fit into the “pantry niche” with about a half inch to spare on either side. (I measured several times before bringing it home.) Thankfully it was rather cheaply constructed and had cross-pieces bracing the sides on the inside. I was able to use those to hold up a couple of thick plywood shelves.
It was deeper and taller than the pie safe. Taller was good. Deeper… not so much. We made do with it for several years, but it was certainly not ideal. Imagine your refrigerator having no interior light. It was kind of like that. Any food deeper than the first layer was often lost forever.
Phase 2: Solving my clothing problem. The pantry problem? Not so much.

So after a couple of years of lost food, the entertainment center/pantry storage unit became what it had always wanted to be: a wardrobe! (My hangup clothing had resided in our sunroom closet prior to that! Oh the things we do for the love of old houses!) I bought some industrial looking wire shelving from Aldi for something crazy like $30 per unit. (You’ve seen the other one in my laundry room).
Phase 3: Lightening up & spending more than $30
Then about three years ago, after we’d clearly outgrown the wire shelf/wooden shelf combo, I decided to add adjustable wire basket storage on the side walls to expand the storage.
So I spent about $340 at the Container Store during one of their 30% off Elfa sales, and installed them myself. This allowed my to store all of my canned goods along the walls, and free up some shelf space. I also was able to store all my glass food storage containers along the top.

I added burlap curtains and it was a vast improvement.

But over the last three years, as my girls began to make their own trips to the store and all of us added weekly to the pantry stash, I’ve seemed to need even more space in order to keep things organized.
And the burlap curtains began to fall apart (not sure why—maybe just because they were handled 18,000 times a day…).
Phase 4: Waiting for phase 5 do make any REAL improvements.
So I quickly put up some other curtains I had hoarded (ha!) and that look pretty sad. (Tab tops are so last millennium… ) And I think they shrank in the wash so that one is shorter than the other.

Phase 5: In progress
So my latest project is a subtle revamp of the pantry.
A little more storage added
When I removed the bottom and top shelf from the pantry wire shelf unit, I added it to the one in the pantry, so that afforded me a couple of extra shelves.
A slightly-more-thorough-than-usual-clean-out
I also did a thorough clean out.
As I said on the laundry project, the clean out step is the most crucial. And if you’re feeling a little “meh” about any of the rooms in your house, try that first, before you start in with heavy-duty DIY.
Most of us are just living with TOO MUCH STUFF!
Even in our pantries!
{Please do not hear me complaining because we have too much food. I’m SO thankful we have ENOUGH, unlike much of the rest of the world! I just like to not be wasteful, and a chaotic pantry is a FOOD WASTER!}
It’s extra dangerous to keep too much stuff in the pantry because of the constant usage. Organization needs to be super simple. Everything needs to as easy to be seen as possible, and regular maintenance is a must.
One of the reasons our family ends up with excess in the pantry is that we’re pretty adventurous eaters, and like to try new stuff all the time. We buy things that are on the…shall we say, “experimental” side. If we end up not loving them, however, or if, perhaps we were a little overambitious thinking we were going to do some elaborate dish that will in reality never happen, we WILL NOT throw those foods out because they’re not expired! We let them sit in the pantry until they are officially out of date.
I went through the pantry with an eye for things that, even thought they’re not expired, are realistically not going to be consumed. It was amazing how much space this cleared.
NOW when the next round of groceries arrives, there’ll be some empty spaces for them. AND we’ll still be able to see what’s there.
Some containerizing
After the clean-out, I did a few small tweaks to tame some of the visual clutter in the pantry.
So I tried to containerize most of the beans and grains. It not only looks better, but every bag I could eliminate made it easier to see what I had. I simply use a permanent marker to write what it is with a “best by” (bb) or “expiration” (exp) date. on top. The writing is easily removable later with alcohol and a rag. If there are specific cooking instructions, I cut them off the packaging and slip them inside the jar. I could get more visually “Pinterest-ey,” but I’m trying to be realistic here about what I can actually keep on doing.
I also put in containers (bins–a couple clear, one white) to hold other bagged items that were grouped by category (salty snacks, dried fruits and nuts, etc.). The bagged items don’t stand up on their own, and are main culprits of chaotic shelves. Containing them helps.

Of course the clean-out AND making everything easier to see in clear containers has to be done on a regular basis. The way to know it’s time to do it again is when your teenager walks into the pantry, which, by all appearances is FULL, and says, “We have NOTHING to eat!”
More to come
The next steps on the pantry are not going to make a “WOW” difference, but I’ll hopefully show them in the next post.
I already changed out the light fixture (you can see the old cobalt colored one in the first picture) when I was doing the foyer re-do. I noticed the ceiling will need repainting when I’m changing the trim color from off-white to white as I have in the foyer and pantry. And I’m working on a better curtain solution. Hopefully all of that will be well under the $100 budget, since I went a little over on the last project (sigh…).
Hope this gave you some ideas/encouragement for your pantry… or any problem space you may have, really 😉.
Blessings,
