“I really think that we can make it, girl.” –Bread (from the On the Waters album, 1970)
What is sourdough, really?
Sourdough bread is one of life’s simple and useful pleasures. And if you’ve never made it before, it’s easier than you think. Hopefully after I acquaint you with it a little more, you’ll think it’s worth considering learning as a skill.
You may be thinking, “I can go and buy bread at a store less than ten minutes from my house. Why in the world would I ever ever consider going to the time and trouble to make my own??”
Like many food items these days, it’s not availability that’s the problem, but the ingredients, or in this case, even how those ingredients are put together.
Go slow…

Perhaps you’ve heard of slow food? There’s even a movement. It involves the return to a more traditional method of preparing food, that is inherently slower. But not just slow for the sake of slow. It’s also inherently better. Better tasting. More nourishing. Often less expensive. And overall, more satisfying.
Slow bread, or true sourdough, fits that description.
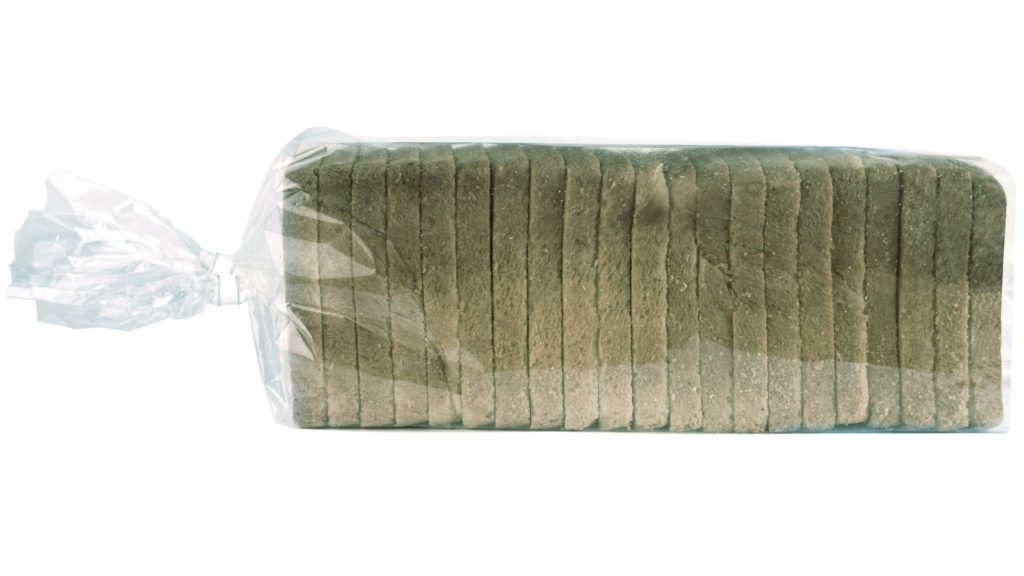
Not everything you buy in the store that is labeled “sourdough” is the same as “TRUE” sourdough or naturally leavened bread. It’s mostly just bread with added ingredients to give it a sour taste similar to real sourdough.
On the other hand, real sourdough isn’t necessarily even all that sour. The world-famous San Francisco sourdough, whether you have tasted the real deal or not (there are lots of imposters modeled after it) has its own strain of bacteria that gives it its particular taste. But there are infinite varieties of naturally leavened bread. It varies according to treatment of the starter and the character of the yeast itself.
But let’s don’t get all technical…

Volumes have been written on the science behind sourdough, and that’s wonderful, but I’m not really a scientist. I’m just a girl who likes a good piece of bread.
So I’m going to give you the low-tech version of sourdough specifics.
Breadmaking (like lots of things!) has changed significantly over the last hundred years or so and the resulting product is vastly different than bread made from traditional methods.
For apparently thousands of years, bread was made in much the same way, and around the time of the industrial revolution, while production of everything else was speeding up, commercial and quick yeasts appeared on the scene and took a lot of time and unpredictability out of the bread making process.
However, I think we’re only beginning to discover what was lost by eliminating all that time that seemingly nothing was happening but a “rise.”
Unbeknownst to me until a few years ago, that middle step of bread making was where all the important action happens. Again, not to get too science-ey here, but enzymes develop, which pre-digest parts of the bread (like phytates) that are hard on our digestive systems. They also feed off a lot of the starch content in the bread, lowering its glycemic index.
If you consider the Standard American Diet (SAD), and the amount of bread we consume, the rising rates of diabetes and celiac disease among other bowel disorders, you might start to see a connection. As you may have heard, I’m no scientist, but I’m just sayin’…
Let’s rediscover BREAD!
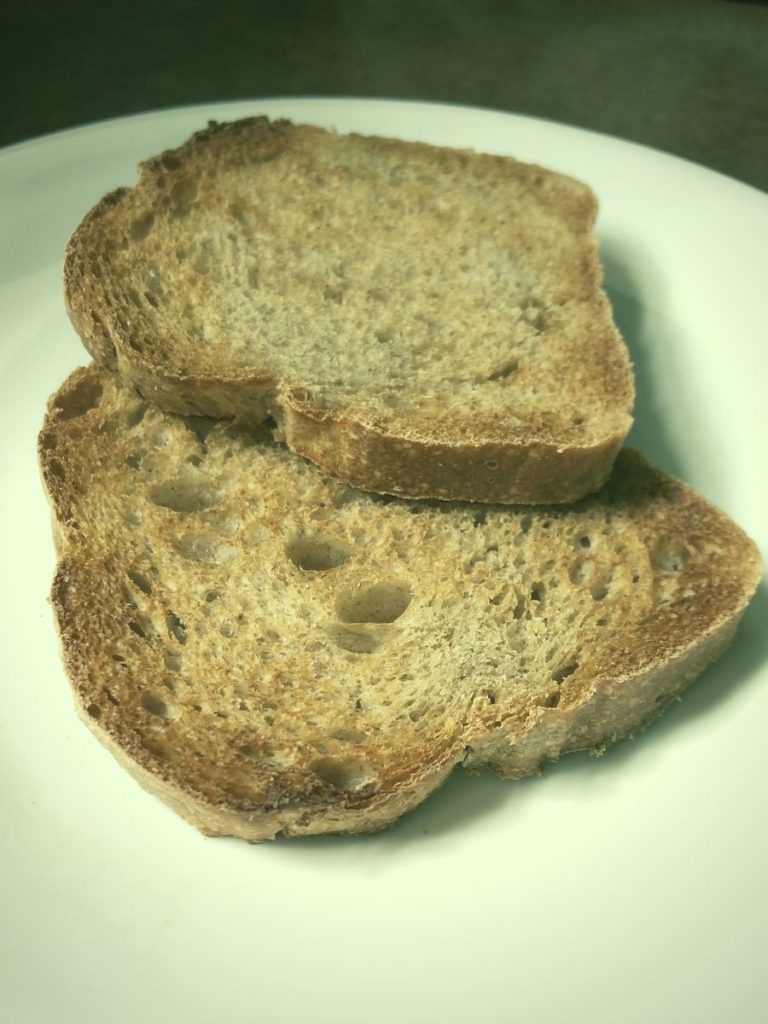
But let’s get to the really good part. Sourdough in all its different incarnations is delicious. And there’s nothing that smells quite so good as a fresh loaf or two baking in the oven.
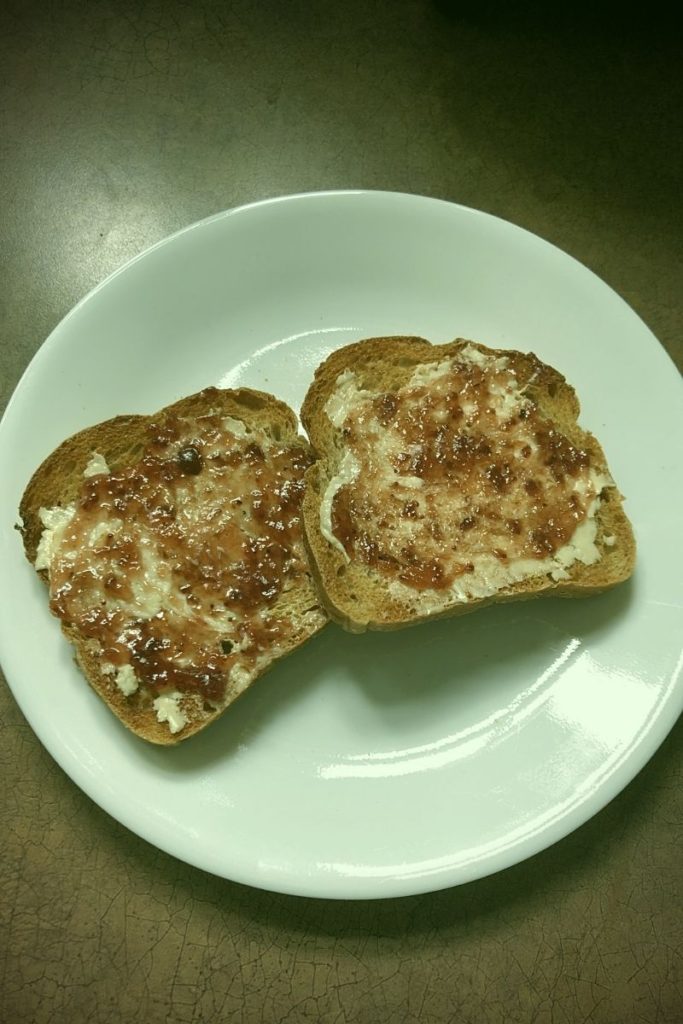
Bread and jam… ahhh, yes.
So I’m going to share my exact inexact process. If you are a scientist in the kitchen, i.e. you measure every ingredient with something other than your hand (Yes, my standards for scientists are pretty low…), you may find these directions a little willy-nilly. On the other hand if you’re an artist in the kitchen, i.e., you cook based more on if something feels, looks, or tastes “right,” you’ve come to the right place.
I’m not sharing THE way to make sourdough bread. There are by my estimation as many ways to make it as there are prospective bakers, so don’t be surprised if over time, you find yourself changing it up.
What I want to share is a place to start. I want you to have an epiphany similar to mine about the basic nature of the process. What works for me might help you on the path to what works for you. Fun, right??
You have to remember, that people have been making homemade sourdough bread as a sustenance food for the much greater part of human history than they have been getting their bread off of a store shelf.
Starters have been kept, however poorly, likely in all manner of vessels, without refrigeration, and allegedly even passed down through many generations. Therefore, you can do this!!
It’s all in the timing

The only part of breadmaking that is remotely difficult is the TIMING. There is a rhythm to it, but as with the rest of our life, that rhythm changes with the seasons. The whole process may spread out over fifteen hours or more, but the hands-on time is probably not more than ten minutes.
Before we start, a word on starters
The starter is crazy simple and crazy complex. It’s the thing that makes the the sourdough sourdough. It’s actually alive. If you’re in need of a pet, you can name it and talk to it. (Mine is Pierre— a French country starter.) And whether or not you want to contemplate having a collection of bacteria (friendly ones) as a pet, it is important to keep it alive. It’s also fairly goof-proof (after it’s established)—trust me on that.
So you can make a starter by mixing flour and water together and letting it culture, so to speak. You must keep discarding part of it and then feeding it (the same simple formula) several days in a row up to a couple of weeks before it reliably bubbles up and shows signs of life–and has the right bacteria in it to do the job.
The other thing that can happen is that it can mold and get an “off” smell. How do I know this? Because I decided to be a purist and start my sourdough journey by trying to start my own starter. I failed. Turns out temperature and timing are variables that I didn’t yet know what to do with, and the results were not what I expected.
I probably would have done just fine if I had broken down and put my starter in the fridge between bakings (since I did not bake every day).
But I figured I had done something horribly wrong. And then I delayed trying again for another couple of years.
Don’t be like ME!
I figured if I was bad at starting a starter then I couldn’t possibly keep one alive and actually successfully make bread with it. Even though the book I had read clearly told me that starting a starter was a little tricky and it was okay to start with an already established starter.
Turns out the book was right. Using a starter and keeping it alive through lots of bread-baking (and even neglect) is much easier than starting one in the first place.
So when I decided to give myself another chance (I’m still learning to benefit rather than be defeated by my failures, which have been many…), I bought my now quite mature starter off of Ebay.
I would recommend for you to do the same. But you aren’t limited to Ebay. Amazon wasn’t on my radar when I started, but now they have a dazzling array of choices. Or if you have a fabulous baker friend—they’re everywhere these days—I guarantee they’ll be glad to share some starter with you. And they won’t hold you responsible for any casualties.
And then, down the road if you, like me, want to actually start your own starter, you will have a better feel for the process and you can do so by finding the absolute most simple directions (here are some–that are probably still a little fussy for my methods) you can find and go to it.
So here’s my basic process:
Feed the starter
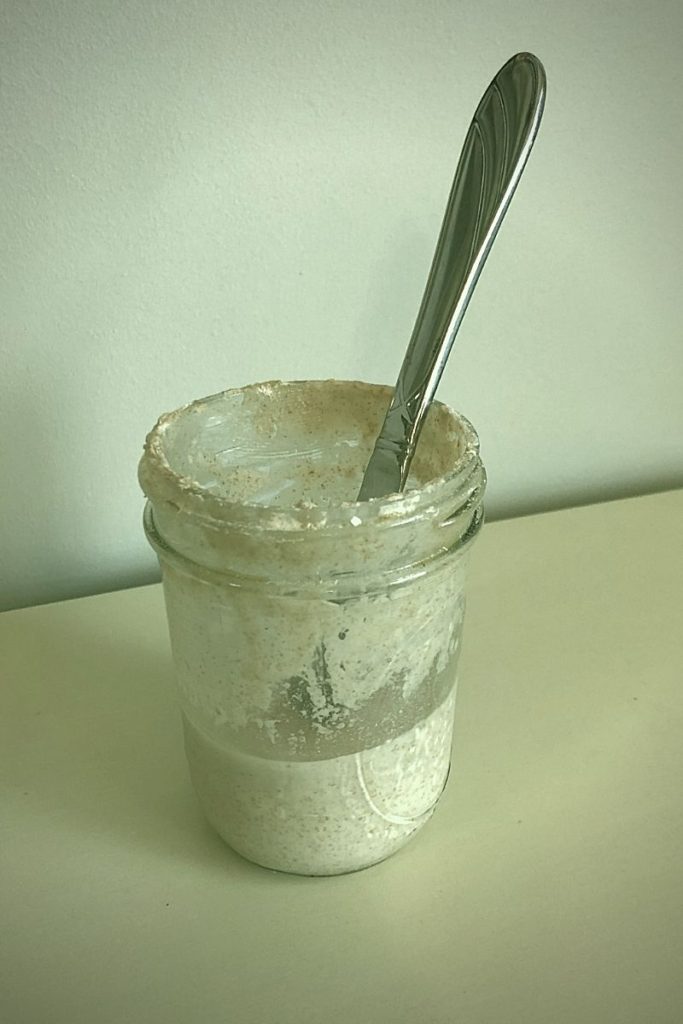
Before you bake you must feed it/him/her–the starter that is. I’ve actually divided mine into two jars. It’s easier to store in my fridge and if I want to make two different types of loaves, I can feed it a little differently. (It’s a good idea to feed with the same ratio as you bake. For example a roughly 3:1 ratio of white [unbleached bread flour] to [whole] wheat flour is what I use a lot) I use two straight-sided pint jars with plastic lids. The lids are ALWAYS screwed on loosely–never airtight (you don’t want to kill your new pet!)
Feeding consists of a quarter cup (remember, I do part white/part wheat for a total of 1/4 cup with very inexact measuring) and a scant quarter cup of water in each jar. The water for feeding and making the bread should be at least filtered (Chlorine kills our bacterial friends…)–I usually try to use spring water.
Some helpful details (no extra charge)
JUST FYI– always leave enough room in the jar so that the starter has room to double without overflowing. I usually keep about 1/4 to 1/3 cup starter in my jar at all times, and then after feeding, the jar is a little under half full. This bubbles up and after pulling out 1/3 cup of starter I’m usually left with roughly the same amount. You can pull out a generous third if it’s extra bubbly. Don’t try to do math here. You’ll have to deal with complex fractions, and that’s just not cool.
Back to the feeding part
I use a stainless steel butter knife to stir the flour and water together until they stick together like a sort of batter. In fact, a thick batter or porridge consistency is usually what I go for. If it’s super hard to stir, or the whole thing sticks together in one big clump, add more water to get to an almost-pourable consistency.

I then let the starter feed for anywhere from 2-8 hours. Ideally it should double in volume, but I don’t use that rule in a hard and fast way. I simply look for bubbly activity and a yeasty smell.
As to smell, it becomes second nature later on, but when you’re first starting out, it can be kind of a nebulous concept. My best description is that the starter can smell yeasty, fruity, or even chemical-y (kind of like nail polish remover) generally according to how much alcohol by-product has risen to the surface (that cloudy brown liquid that may alarm you at first, but later you’ll just pour it off or stir it back in according to your own preference).
If for any reason, the starter smells like waste material—like not remotely good by anyone’s standards—or has any color in it showing up other than the aforementioned brown liquid, bad bacteria may have taken over. This is not as scary as it sounds.
As long as you’re seeing bubbles, your happy little good bacteria are likely thriving and all will be well. Even if you don’t see bubbles right away (I’ve left the country and let my starter sit at the back of my fridge for over two weeks before, and after a couple of feedings, Pierre was back to his happy bubbly self.) The only time I’ve experienced the bad was that time I tried to grow my own. And when it went bad I knew it, and you would too.
Assemble the dough
Once you have a happy starter, you’re ready to roll.
Here is all that will go into your dough:
Starter — 2/3 cup
Water — 2 cups
Oil — 1 Tbsp
Flour — 4 cups (I do three cups white unbleached bread flour, one whole wheat. You do you… Just know that the wheat will generally make things a little less airy)
Salt — 1 tsp
Simple, RIGHT??
Put it together this exactly this way… if you want to…

I usually start with the starter (appropos, no?). Then I add the water and the oil. I stir until most of the lumps of starter incorporate into the water and oil, making a sort of slurry.

I then add the flour and, before stirring in, add the salt by sprinkling it all across the flour. Concentrated salt kills our friendly bacteria, so I just make sure to try to distribute it across the dry flour before stirring in.

Again with my silicone stirrer (or a wooden spoon would work here), I stir until the ingredients start to stick together. I then fold the ingredients from the outside toward the center while turning the bowl with my other hand. Sort of like kneading, but I never even touch the dough.
Don’t overwork it. Or overthink it.
I scrape the sides and am usually left with a fairly rounded clump of wet dough in my deep ceramic bowl, which I then cover with a clean dish towel.
It is a wet dough, so if I put my hands in it, it would probably stick, much like chunky oatmeal might, so I find it easier just to keep my hands out. I only keep folding in until everything starts to hold together and strands of adhesion develop.

This combining step takes approximately five minutes. If you have a healthy starter, feeding it takes probably two to three minutes, including pulling out the ingredients. So the active time so far is easily less than ten minutes.
The dough needs to proof until it approximately doubles in volume. This step can take twelve to fifteen hours, depending on the temperature in your house and the vigor of your dough.
Again, this is not precise, but a general guideline. It simply takes time and experience to get the feel for it.
Hit the pause button
While you’re learning, and even after, your refrigerator is your best friend, because if at any point in the process you cannot be at home to take the next step, you can pop everything into the refrigerator to pause the process.
Prep for the 2nd proofing
When your dough has approximately doubled in volume, put a tablespoon or two of water on the counter and turn the dough out on it. It will likely be sloppy and wet, and that’s fine.
As best you can (wet your hands from the water on the counter as needed), stretch the dough into a rectangular shape. Then fold it in thirds like a letter. Repeat that process twice more for three times total, and place into your loaf pan into which you’ve inserted parchment paper. You can either use one large loaf pan at this point, or two small ones like my Lodge iron ones.
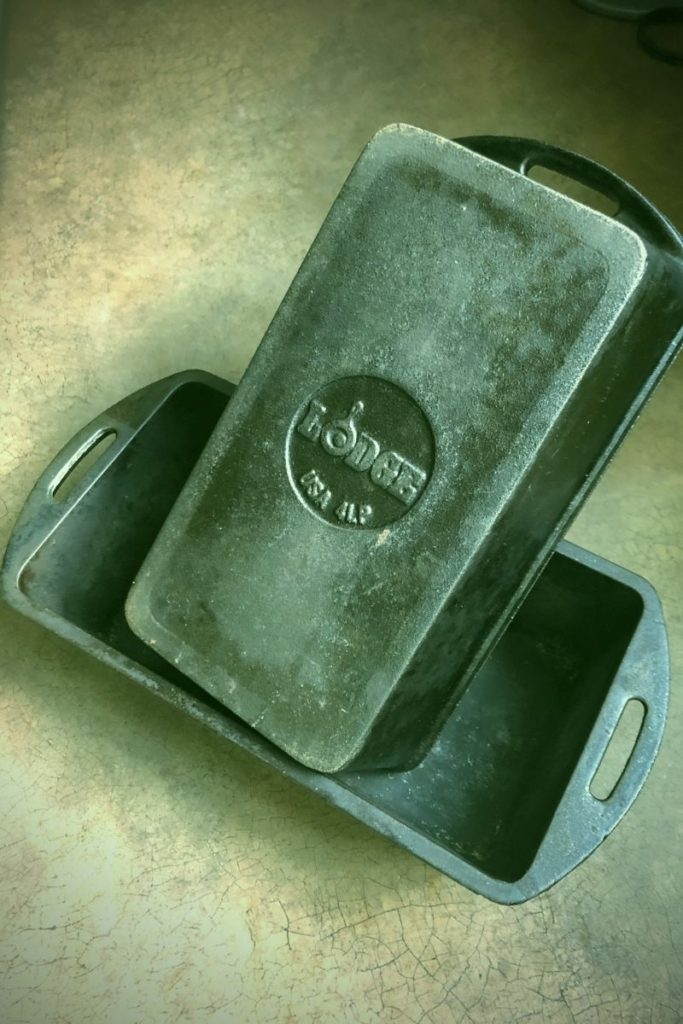
Since I like standard loaf size bread, the small loaf pans work best for this. I store my bread under a cake dome*, and can usually fit both small loaves that way (especially after we’ve taste-tested the first one).
Using the water keeps me from adding any non-fermented flour before cooking, and the parchment eliminates any worries about the bread sticking to the pan
.
Almost there…
Once in the pan, the second proofing begins. This step can take anywhere from 2-5 hours. Again, it all depends on the temperature in your house and the health of your starter. I cover my two pans together with an oblong cake pan (turned upside-down) with towels on top of that, so that if the dough rises above the level of the bread pan, it won’t stick to anything.

For me, after the dough has gotten to be almost even with the top of the pan, I go ahead and preheat the oven. You want to catch it while the top is still rounded. If it begins to dent or flatten out, overproofing has probably occurred. Learning to watch for these stages just takes some experience. Meanwhile, you can eat your mistakes. Ugly bread, while not as aesthetically pleasing, often still tastes really good.
Preheat
When the dough is ready to go, or close to it, I preheat the oven to 375 degrees. This is lower than some artisan bakers do, but after some experimentation, I prefer this temp because it cooks the entire loaf more uniformly. I like a crispy outer crust, but not such that I need to take a chisel to it. The inside gets chewy but not gummy and the outside gets golden and crispy, but not brick-like. I also prefer to cook in loaves instead of those beautiful boules (round loaves) because I like to get fairly uniform slices that fit consistently in my toaster.
While the oven is preheating, so is my small stainless steel bowl I perpetually leave on the very lowest level of my oven. In order to maintain the level of moisture in the oven that it takes to support the air bubbles which give your bread its rise and a bit of an open crumb, I add boiling water to this bowl, right before popping the loaves in (so I usually heat water in a kettle during the preheat).
Throw it in the oven!
The loaves bake at about the middle height of the oven. And leave space in between them for air circulation. Bake for 10 minutes at 375, and then lower to 350 for one hour, ten minutes. The loaves should sound somewhat hollow when thumped—you can adjust time as needed or per your preference.
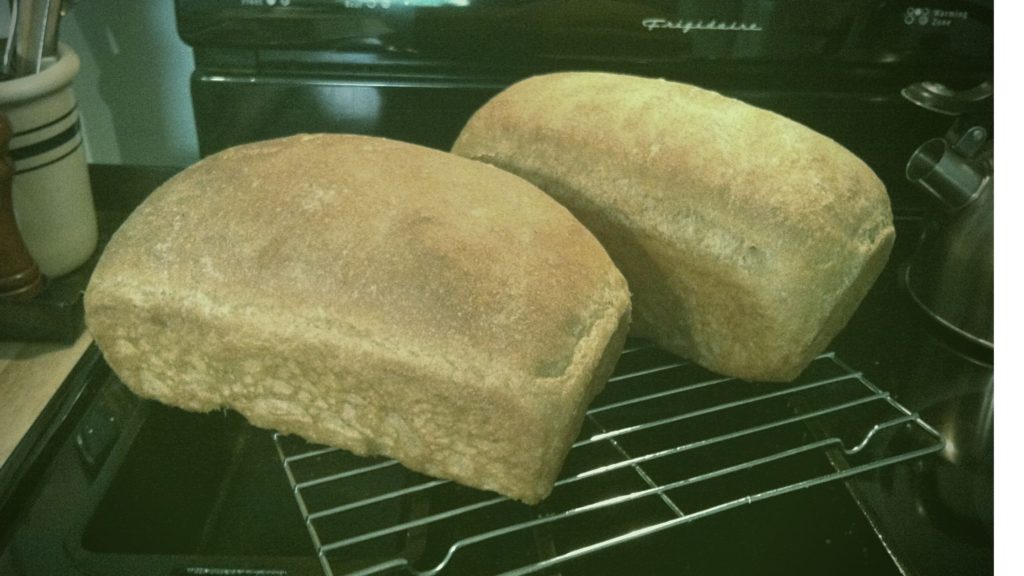
I have lately begun leaving them in the oven with the door propped open while it cools. When I pull them out, I lift the loaves by the parchment paper and set them (still in the parchment) on top of the loaf pans–crossways—to finish cooling completely. While warm, crusty bread is just about the best thing you’ll ever eat, be PATIENT, and don’t cut your bread while it’s still hot, or the inside of the loaf may deflate or become a little gummy. Or you may just destroy the loaf trying to cut it. A good serrated bread knife and a gentle “sawing” technique are important at this point.
Enjoy the fruits of your (not hard) labor
The bread is best within the next 24 hours, but as long as I toast mine (I like it golden and crispy, but a light toasting is fine), I can enjoy it for up to a week, if it ever lasts that long. You could also freeze any loaves you won’t be eating in the next couple of days.
Remember, I am the person that cannot, CANNOT, to save my LIFE (!), follow a recipe to the letter. If while reading any part of this, you think, I wonder if _____ would work instead, GO FOR IT! Do not be afraid of this process. I am no expert. And I have no plans for specializing in breadbaking.
I just happen to think baking a loaf of REAL bread can be a part of every average eater’s kitchen repertoire, just like learning to scramble eggs or brew a decent cup of coffee. After all is said and done, you probably won’t do your bread the same as I do mine, because, as Mr. Rogers said, “you are the only one like you… in this wonderful world.”
Please let me know if you decide to set off on this merry adventure that is breadbaking! And if you have questions, I’ll do my best to share any more tips and tricks you may need to tweak the process. And most of all, I’ll encourage you not to give up!
I’m on week 2 of a gluten free diet in an attempt to work out some digestive issues. I also LOVE sour dough (except I hadn’t thought about some having weird additives to make it taste sour….gross). But because I’m attempting GF, I didn’t want to read this but I’m glad I did. Maybe if I decide to slowly add some gluten back into my diet, I should start with legit sourdough where the enzymes have been working. Thanks for giving me some more info to consider!
Sorry to hear about the digestive woes, Nikki. I do have a recipe that I’ve always meant to try for a gluten-free sourdough. It uses quinoa, chickpea and oat flour–lots better than the crazy-long laundry list of ingredients you find in the store-bought version. The main drawback for me is that it uses eggs to help replace the structure that gluten gives. Not that I’m against eggs necessarily. They just complicate what is an elegantly simple process for me. (Maybe I’m just a little LZY…) You may have inspired me to give it a try!
Unfortunately if gluten is a real problem for you, the amount of gluten in sourdough, while greatly reduced, is still there, and likely not completely safe. However, if you are able to do some gut healing, as long as you’re not celiac, there may still be good (even wheat) bread in your future.
I feel pretty strongly that everyone that eats bread should be opting for sourdough (naturally leavened bread), since the commercial bread we consume these days not only contains non-pre-digested gluten, but it contains lots more of it than the bread of the past, since wheat has been hybridized to have a higher gluten content.
Gluten is what makes bread great, no doubt, but our bodies were never meant to digest great gobs of it. Of course we eat lots of things that pass through our body undigested (some to our benefit and some not…), but gluten does damage on the way through. So massive amounts of it coming from every direction wreaks havoc. Thus the gut problems that are so prevalent. And sadly, I think a lot of the brain problems we’re seeing in children and adults are also related.
Sorry to go on so–can you tell that the subject fascinates me?? I hope you get some answers and feel better really soon. Believe me, I know the frustration!
Trying this today with my new starter named Pedro!